Framing must be completed before the required mechanical and electrical rough-ins. Those rough-ins are inspected where required, followed by insulation, air or vapour control, any remaining pre-cover inspections, drywall installation, finishing, priming and painting. Select Drywall coordinates its wall and ceiling work around these dependencies so unfinished or unapproved work is not concealed.
The Typical Order From Framing to Finished Walls
This sequence applies to most new walls, basement developments and interior construction projects. The exact inspection points depend on the work involved, permit conditions, approved drawings and the requirements of the local authority.
1. Complete the Framing
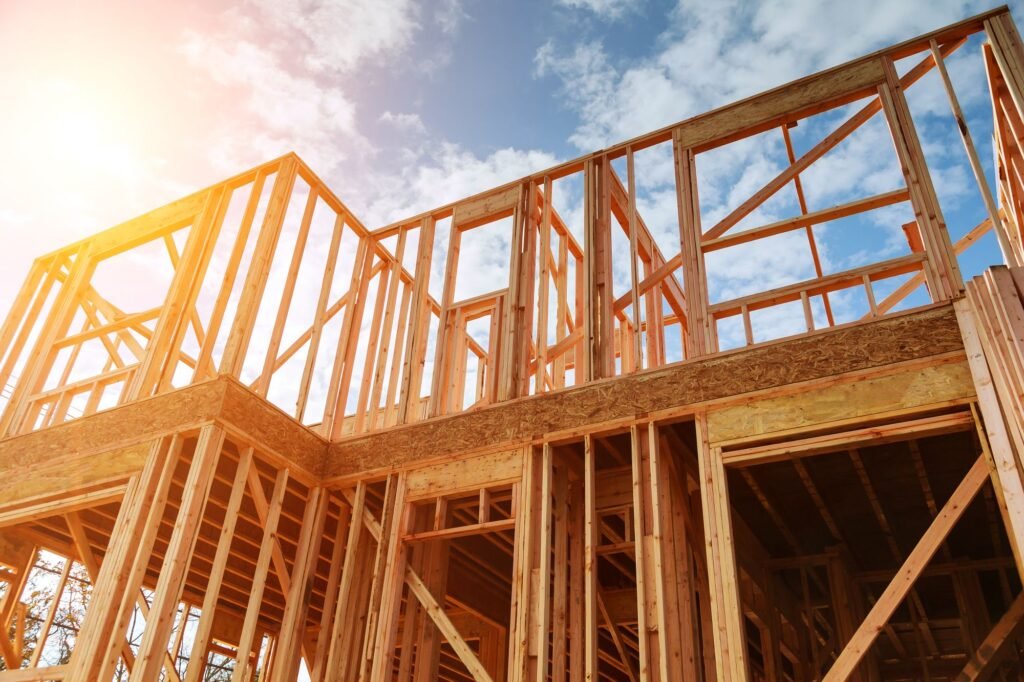
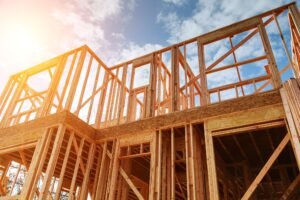
Framing establishes the wall locations, ceiling details, door openings and fastening surfaces for the drywall. Before rough-ins begin, the framing should be securely fastened, correctly aligned and checked against the planned dimensions and layout.
Backing and blocking must be installed wherever cabinets, railings, televisions, fixtures or other planned features require solid support. Door openings, bulkheads and penetrations must also match the construction plans before other trades route services through the cavities.
Structural framing must follow the approved design and required engineering when those documents apply. Select Drywall provides wood and steel framing services for residential and commercial wall systems in Edmonton.
2. Finish Required Rough-Ins
Electrical wiring, plumbing lines, gas work, heating and ventilation components, low-voltage cabling and other concealed services are normally installed after framing. The applicable trades need open cavities to route these components and confirm the locations of outlets, switches, fixtures, vents and connections.
Each rough-in must be complete, tested where required and available for any applicable inspection before the affected cavity is insulated or boarded. Insulation should not be installed ahead of unfinished electrical or plumbing work because it restricts routing, inspection and correction access.
Any framing altered by a rough-in must remain suitable for the intended wall assembly. Required protection around wiring and pipes, firestopping and sealing around penetrations should also be completed before the cavity is released to the next stage.
3. Install Insulation and Required Air or Vapour Control
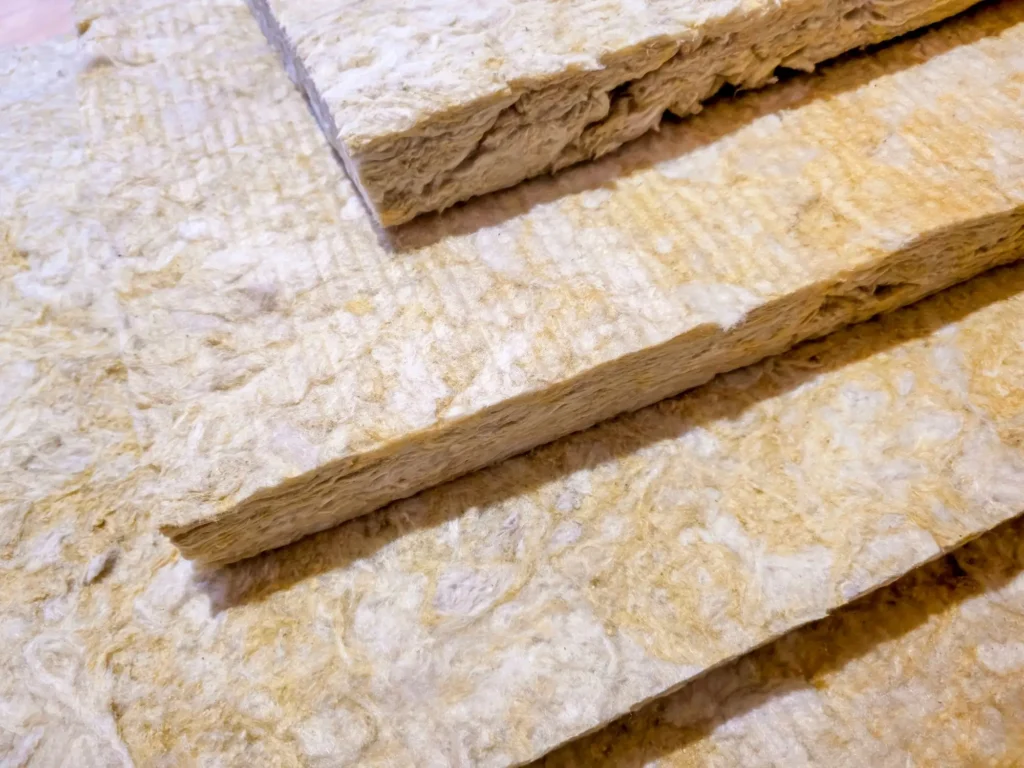
Insulation is installed after the rough-ins and any inspections that must occur while those systems remain visible. Thermal insulation reduces heat transfer, an air barrier limits uncontrolled air leakage, and a vapour barrier controls vapour diffusion. One material may perform more than one function, but the requirements are not interchangeable.
Exterior walls and insulated ceilings must follow the assembly specified by the permit drawings, construction documents or applicable code-compliant detail. Interior partitions may receive insulation for sound control even when they do not require thermal insulation.
A vapour barrier is not automatically required on every wall. Installing a membrane in the wrong location, or creating two low-permeance layers around moisture-sensitive materials, can prevent the assembly from drying properly. Select Drywall installs wall and ceiling insulation according to the intended wall assembly rather than applying one method to every area.
4. Complete Required Inspections
Inspections may occur at several points before drywall installation. Framing and applicable electrical, plumbing, gas, heating or ventilation rough-ins may need approval before insulation covers them. Insulation and vapour-control work may then require a separate inspection before the wall or ceiling cavity is closed.
Drywall can begin only when the results for every applicable inspection permit covering. A passed or accepted result normally allows work to proceed. A conditional result must be reviewed carefully because it may permit progress only after specified corrections. A failed inspection does not authorize the affected work to be covered.
The permit holder or assigned project coordinator must confirm the inspection requirements and results for each area. Residential, commercial and out-of-city projects may follow different inspection stages, so the project’s permit documents and local authority determine the actual requirements.
5. Install the Drywall
Drywall installation begins once the framing, concealed services, insulation and required approvals are complete. Water intrusion must be resolved, materials must be dry and the enclosed space must have temperature and humidity conditions suitable for board installation and finishing.
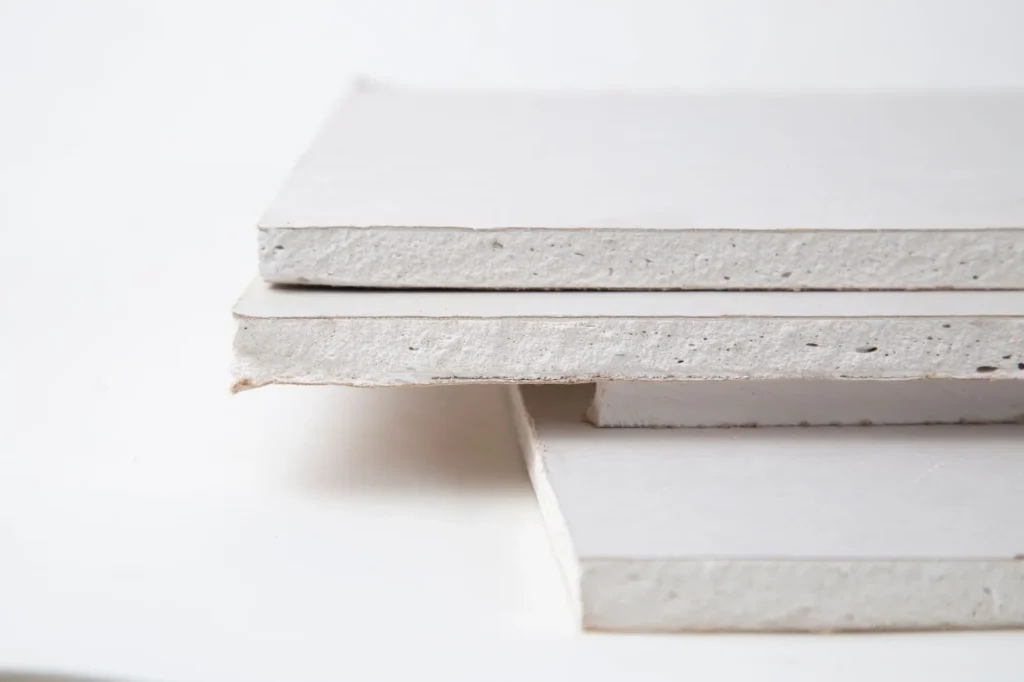
Board type, thickness and number of layers must match the intended location and wall assembly. Fire resistance and acoustic performance depend on the complete assembly, including framing, insulation, board layers, fastening and perimeter sealing. Selecting a particular board does not provide those results by itself.
The drywall contractor should complete a final readiness check before closing the cavities. Select Drywall provides drywall installation and replacement for renovations, basement developments, commercial fit-outs and new wall systems.
6. Tape, Mud and Finish the Drywall
After the board is installed, joints and fastener heads are finished with tape and joint compound. Each coat must dry under suitable temperature, ventilation and humidity conditions before another coat is applied or sanding begins. Rushing this stage can leave shrinkage, soft compound or visible joint defects.
The specified finish level should match the final coating, texture, lighting and expected appearance. Smooth surfaces, glossy paint and strong side lighting generally require more surface preparation than textured finishes or flat paint. Select Drywall provides taping and texture services based on the finish established for the project.
7. Prime and Paint
Drywall primer equalizes the porosity of the board face and joint compound so the finish paint absorbs more consistently. The compound must be fully dry, and sanding dust must be removed before primer is applied.
The painting schedule may be coordinated with trim, cabinetry, flooring and other finishing work. Some projects receive primer and an initial coat before these elements are installed, followed by touch-ups or a final coat near completion. Select Drywall also provides interior painting when painting is included in the project scope.
Why Drywall Should Not Go Up Too Early
Installing drywall before concealed work is complete does not shorten the construction schedule. It makes unfinished components harder to inspect, adjust and correct.
Hidden Work Becomes Difficult to Access
Drywall conceals wiring, pipes, ducts, insulation, blocking, firestopping and air-sealing details. Once covered, these components cannot be inspected or adjusted without cutting into the board.
A missed outlet, incorrectly placed plumbing connection or incomplete firestop may interfere with the permitted work or final layout. Photographs of open cavities provide a useful future reference, but they do not replace required inspections or correct unfinished work.
Corrections Can Mean Removing Finished Drywall
If an inspector or trade identifies a concealed deficiency, enough drywall must be removed to expose and correct the affected area. The opening then requires new board, tape, compound, sanding, primer and paint. Textured or previously painted surfaces may require a wider repair area to produce a consistent finish.
Other trades may also need to return after the wall is opened. This can delay scheduled finishing work and require renewed dust protection and cleanup in occupied areas.
When the Sequence Changes
The same dependencies still apply when the sequence is adapted. The main difference is whether the work proceeds selectively, follows an existing exterior-wall assembly or moves through the project in separate zones.
Renovations With Existing Walls or Ceilings
A renovation does not always require every wall to be stripped back to framing. Existing drywall may remain when accessible evidence indicates that it is sound and the project does not require access behind it. New board may then be limited to altered walls, repaired sections or openings created for mechanical and electrical work.
Additional access may be necessary if framing, concealed services, moisture damage or inspection requirements cannot be assessed through the planned openings. Existing drywall should not be left in place when doing so prevents required work or verification.
Before older wall or ceiling materials are disturbed, the material type, building age and planned work should be considered when determining whether hazardous-material testing is appropriate. Any identified risk must be addressed before demolition continues.
Basements and Other Insulated Exterior Walls
Basement exterior walls require coordinated framing, insulation and moisture control because these components function as one assembly. Existing insulation may remain only when it is dry, continuous, undamaged, compatible with the new work and acceptable under the permitted or specified renovation design.
The framing position affects the space available for insulation and concealed services. Compressed insulation, unfilled gaps and interruptions around framing reduce thermal performance even when the insulation material itself remains in good condition.
Electrical and plumbing work must also be routed without unnecessarily damaging the required air or vapour-control layer. The final construction should follow the applicable permit drawings, project specifications, code-compliant detail or qualified design for that wall.
Projects With Multiple Trades
Large renovations and commercial fit-outs may progress in separate zones rather than waiting for the entire site to reach the same stage. One area may be released for drywall while another remains open for mechanical, electrical or inspection work.
A released area should have completed trade work, confirmed inspection status and no unresolved changes requiring access to its cavities. Drywall installation should stop at a controlled boundary rather than cover adjoining walls or ceilings that have not been released.
Documented handoffs give the project coordinator and drywall contractor the same understanding of which areas are ready. They also prevent one trade’s schedule from closing access still required by another.
Who Coordinates the Work Between Each Stage?
Responsibility for coordination belongs to the party assigned that role under the project arrangement. This may be a general contractor, construction manager, builder or owner managing the trades directly.
The coordinator schedules each contractor, confirms scope boundaries and manages dependencies between framing, rough-ins, insulation, inspections and drywall. Each trade remains responsible for completing and correcting its own work.
Select Drywall confirms readiness for the framing, insulation, drywall and finishing stages included in its contract. Electrical, plumbing, gas, heating and ventilation work, permit administration and external inspection approvals remain with the assigned contractors and project coordinator unless the written scope states otherwise.
Planning Framing, Insulation and Drywall With Select Drywall
Select Drywall handles framing, insulation, drywall installation, taping, texture and painting for residential and commercial projects in Edmonton and surrounding communities. Its scope can cover these connected wall and ceiling stages without implying responsibility for unrelated rough-in trades or authority approvals.
Project planning establishes the areas involved, current construction stage, requested services, finish requirements and work assigned to other contractors. Drawings, measurements and site conditions are then reviewed to identify Select Drywall’s scope, prerequisites and scheduling requirements.